
Tools Needed:
*ruler
*tailor's chalk or disappearing pen
*protractor or a circle object you can trace
*fashion fabric
Directions:
Click on the photos to make them larger.
1) First, decide how big your scallops are going to be. If it is a bodice or neckline detail, you'll obviously want it smaller. If it is a skirt hem, they'll probably be bigger.
For an equal number of scallops, take your width of fabric and divide it by the number of scallops you want. This will give you the diameter of your scallops.
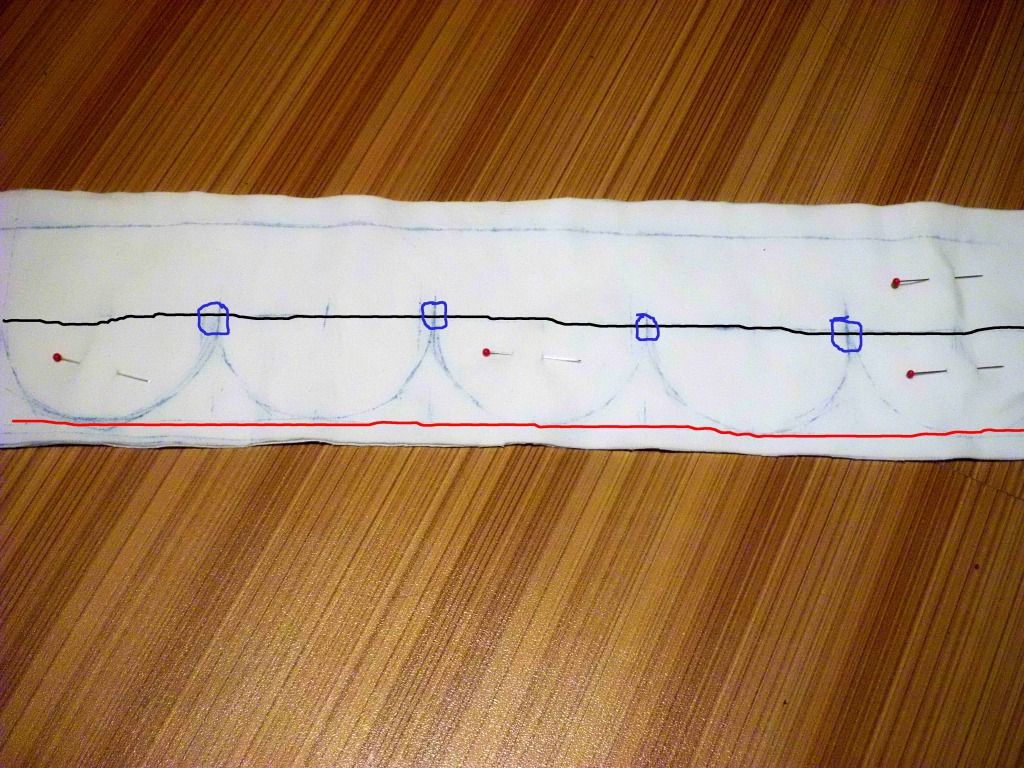
2) Draw your scallops. Halve the diameter to get the radius and set your protractor to the proper size. Another way to do this is to simply find something round (a can, jar, cup, tube, plate, etc.) and trace it on the wrong side of the fabric. Draw a horizontal guideline for where you want the base (red) of your scallop to be and a guideline for where you want the point between your scallops (black) to be. The two guidelines will be x inches apart where x is your scallop radius. The guidelines are really optional, but it keeps everything even ;)
This is your stitching line.
3) Pin your fabric and facing together and stitch right on the scallops you just drew. I find it much easier to trim off the excess after stitching rather than adding seam allowance, cutting out the scallops, pinning them together, and then trying to keep them from moving apart while stitching. Stitching a smooth curve isn't easy, so practice on some scraps, first!
Point!
At each "point" between two scallops, take one horizontal stitch. This will help you turn the fabric more easily. If you fabric is thick (e.g., corduroy, velvet, etc.) take two or three stitches as necessary. Try it on scrap fabric first to see how many stitches makes the best scallops!
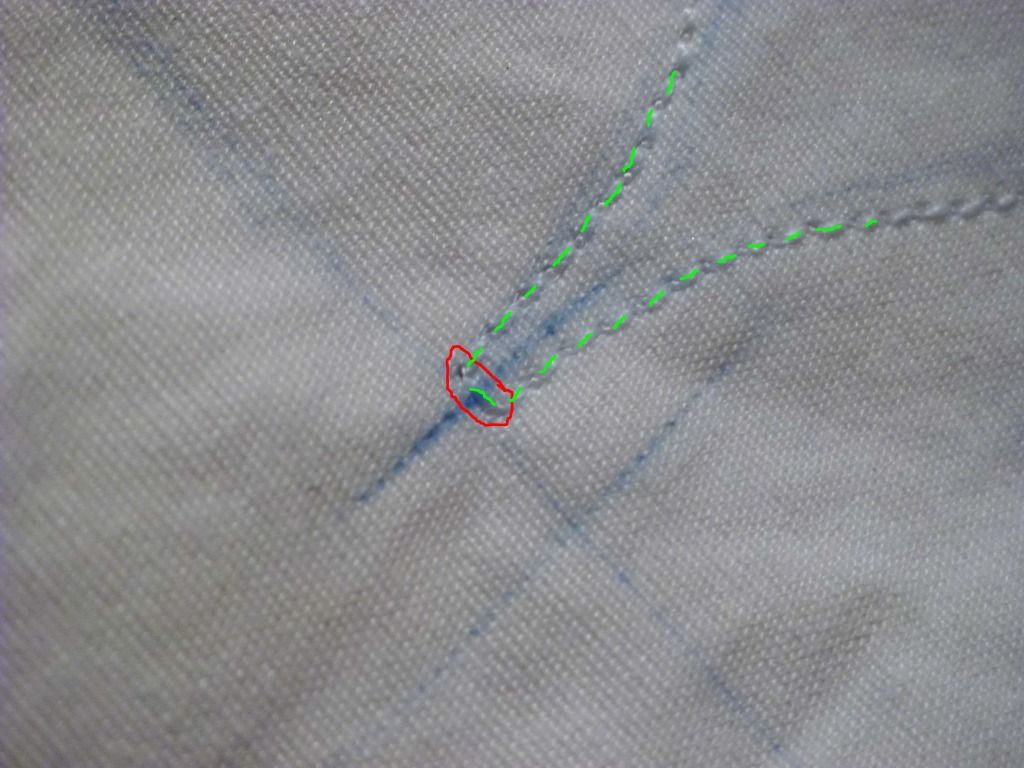
The stitches are highlighted in green. The turn stitch is circled in red.
4) Trim your seam allowance. There are two ways to do this: You can leave a half-inch of seam allowance and clip notches into your curves, or you can trim your seam allowance close to the stitching. Clipping notches is more time-consuming, but safer. Trimming your seam allowance very narrow is quicker, but if it is somewhere that gets rubbed or pulled a lot, it may come undone.
Point!
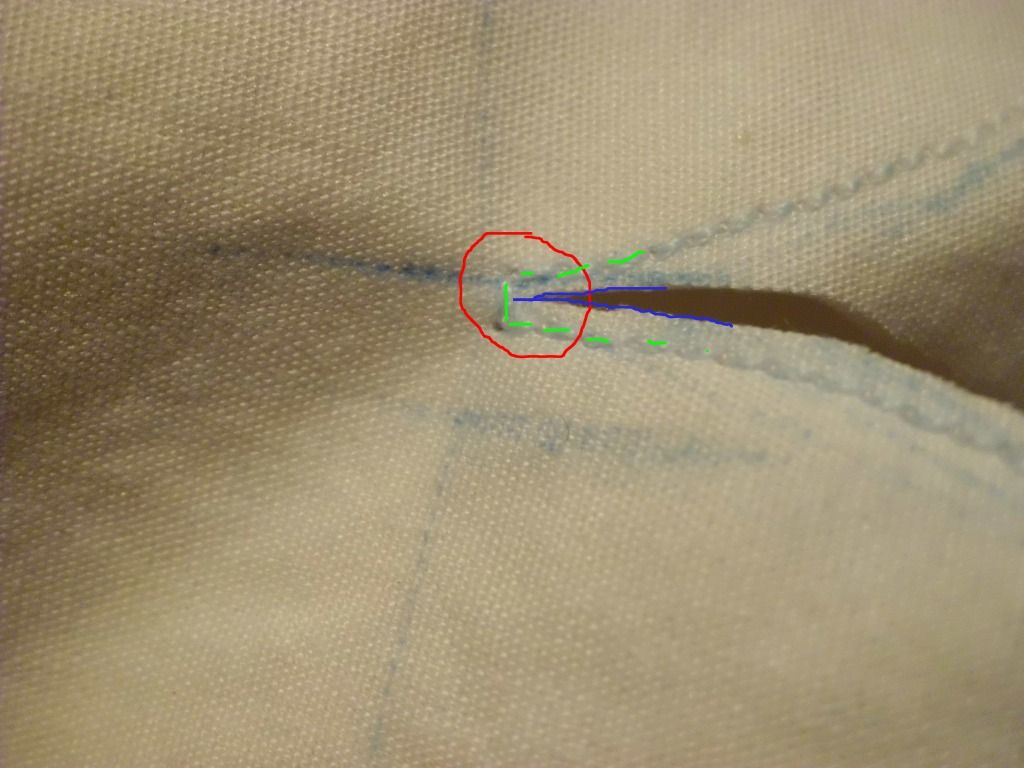
At each "point" between two scallops, trim the seam allowance right up to the stitch. Be very careful not to cut through the stitching line or you will end up with a hole! If you don't trim closely enough to the stitching line, your scallops will pucker at each point.
5) Turn your scallops right-side out and press. Now is a good time to check for any puckering between the scallops. If you find any puckers, flip the area wrong-side out again and trim a little closer to the stitching line. Give everything a good press and make sure your scallops look like nice semi-circles. If you made the scallops too deep, they will end up lookin like "flaps" or "scales." If you made them too shallow, it will look like an uneven hem.

6) Topstitch your scallops! I like to edgestitch at 1/8" from the edge.
Point!
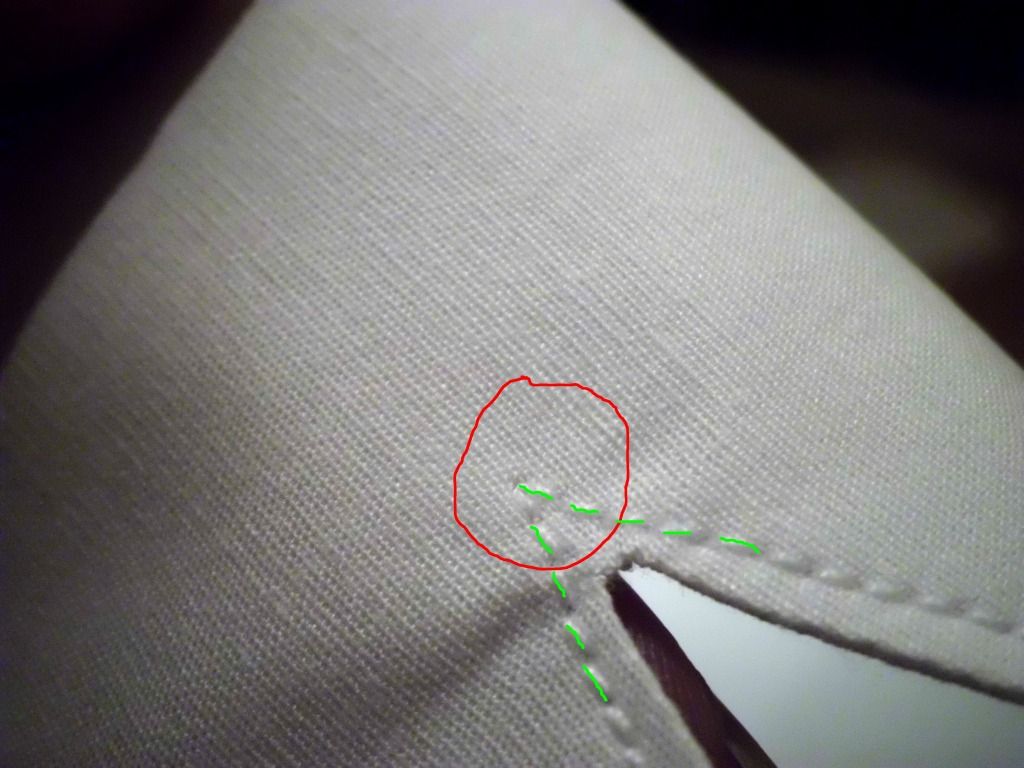
Do not take an extra stitch at the points when topstitching (highlighted in green)! Simply stitch right up to the point, leave your needle in the fabric, lift the presser foot, turn your fabric, set the presser foot down, and continue stitching. This is the topstitching so take your time and make sure it looks lovely!
7) Give everything a final press and you are done!